Beyond Port Forwarding: The SRE Way
Cloud Specialist with expertise in SRE, infrastructure, and security. Certified in CKA, LPIC-3 (Security), and AZ-104 My focus rests on three pillars: Cloud Architecture, Security, and Containerization, currently integrating AI to drive operational efficiency.
When I decided to host my personal brand site, https://www.UpToDeploy.com, I faced a classic dilemma: pay for a VPS or use the hardware I already own. I chose my Raspberry Pi, but as someone focused on Security and Reliability, simply opening ports on my home router (Port Forwarding) was not an option.
In this article, I’ll show you how I leverage the Zero Trust architecture to expose my local environment to the world securely.
The Problem: The Risks of Traditional Hosting
Traditional home hosting requires exposing your public IP and opening ports (like 80 or 443). This makes your home network a target for DDoS attacks and port scanning. I needed a solution that followed the principle of "least privilege."
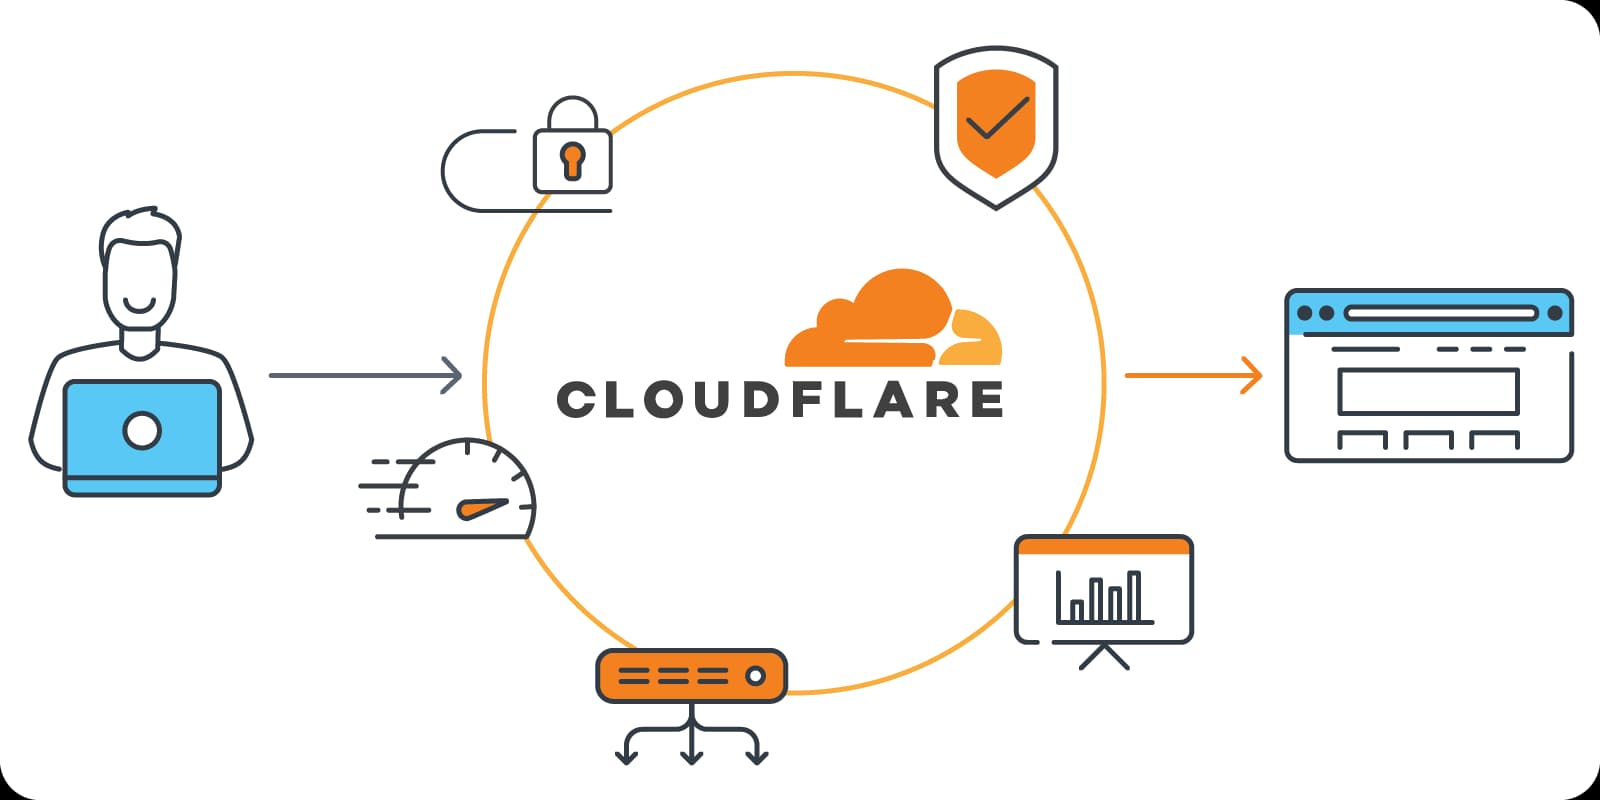
The Solution: Cloudflare Tunnels
Cloudflare Tunnels (part of the Zero Trust suite) allow you to create a secure, outbound-only connection from your infrastructure to Cloudflare’s edge.
Why this is a game-changer:
No Inbound Ports: My router remains closed to the internet.
Identity-Based Access: I can layer authentication if needed.
Hidden IP: My home IP is never exposed to the public; only Cloudflare’s IP addresses are visible.
The Stack
To keep the deployment clean and reproducible, I used a containerized approach:
Hardware: Raspberry Pi.
Web Server: Nginx (Alpine-based for a tiny footprint).
Orchestration: Docker Compose.
Connectivity:
cloudflared(The Cloudflare Tunnel connector).
The Deployment (Docker Compose)
Instead of installing the connector directly on the OS, I deployed it as a sidecar container. This ensures that if I move my site to another machine, the entire infrastructure moves with it.
This is my simple docker-compose.yaml
services:
  web:
    image: nginx:alpine
    container_name: website-linkbio
    restart: unless-stopped
    volumes:
      - ./index.html:/usr/share/nginx/html/index.html:ro

  tunnel:
    image: cloudflare/cloudflared:latest
    restart: always
    environment:
      - TUNNEL_TOKEN=${CLOUDFLARE_TOKEN}
    command: tunnel --no-autoupdate run
Key Takeaways
Security first: By using a tunnel, I've eliminated the primary attack surface of home hosting.
Resilience: Docker ensures that if the Raspberry Pi reboots, the site and the tunnel come back online automatically.
Professionalism: Using my custom domain
uptodeploy.comwith full SSL/TLS encryption, despite being hosted in a residential network.
Conclusion
Setting up UpToDeploy wasn't just about a website; it was about practicing the SRE and Architecture principles I believe in. It’s a proof of concept that professional, secure, and highly available services can be built from anywhere.